How to Fix Damp on Internal Walls in an Old UK House (Without Making It Worse)
You wake up, pull back the curtains and there it is. A brown stain creeping across the wall, wallpaper lifting at the seam, and that faint musty smell you’ve been trying to ignore for weeks.
If you own a Victorian terrace, an Edwardian semi, a 1930s house or anything older, you’re far from alone. Damp is one of the most common headaches in British period homes. The frustrating part is that the usual quick fixes, such as a tin of damp-proof paint or a cheap injection kit, often make things worse.
This guide walks you through what’s actually going on inside your walls, how to work out which type of damp you have, and how to fix it properly so it stays fixed.
Why Old Houses Get Damp in the First Place
Modern homes are built to keep water out. Old homes were built to let water move through.
Most UK houses built before the 1920s have solid walls made of brick or stone, bedded in soft lime mortar and finished with lime plaster. Many have no damp proof course at all. These walls were designed to absorb a bit of moisture and then release it back into the air, a quality builders call “breathability”.
Problems start when that natural cycle gets blocked. Over the decades, well-meaning owners and builders have added:
- Cement render on the outside
- Cement-based pointing between bricks
- Gypsum plaster or tanking slurry on the inside
- Concrete floors replacing old suspended timber ones
- Vinyl or waterproof paints over everything
Each of these traps moisture inside the wall. With nowhere to go, it finds the weakest spot, which is usually your internal plaster and decoration. So that damp patch in your living room may not be a sign your house is failing. It may be a sign the house can’t breathe.
Step 1: Work Out Which Type of Damp You Have
This is the step most people skip, and it’s the reason so much money gets wasted. There are three main types of damp, and each needs a different fix.
Rising damp
Rising damp is groundwater travelling up through the masonry by capillary action, a bit like a sponge dipped in water.
What it looks like:
- A “tide mark” on the wall, usually below about one metre
- Crumbling plaster and damaged skirting boards
- White, powdery salt deposits on the surface
- Peeling paint or wallpaper at the base of the wall
Genuine rising damp is actually less common than people think. Many cases sold as “rising damp” turn out to be something else entirely.
Penetrating damp
This is rainwater getting through the external wall and showing up inside.
What it looks like:
- Patches that appear higher up, near ceilings, corners or around windows
- Marks that get worse after heavy rain
- A patch that stays in one spot rather than forming a band along the wall
Common causes include a blocked or leaking gutter, cracked render, failed pointing, a damaged roof tile, or a leaking downpipe soaking the same patch of brick year after year.
Condensation
Condensation is moisture from inside your home, from cooking, showers, drying clothes and even breathing, landing on cold surfaces.
What it looks like:
- Black mould dotted in corners, behind wardrobes and around window frames
- Streaming windows in the morning
- Damp that worsens in winter and eases in summer
It’s one of the most common causes of damp patches in UK homes, and the cheapest to fix.
A quick tell-tale test
Ask yourself three things. Is the patch low, high or random? Does it get worse after rain? Does it get worse in cold weather? Low and constant points towards rising damp or a ground-level problem. High and rain-linked points towards penetrating damp. Cold, mouldy and seasonal points towards condensation.
If you’re still unsure, get an independent survey. Historic England advises that damp is frequently misdiagnosed in older buildings and recommends an independent professional, such as a chartered surveyor, over a company that also sells the treatment.
A Quick Word on Damp Meters
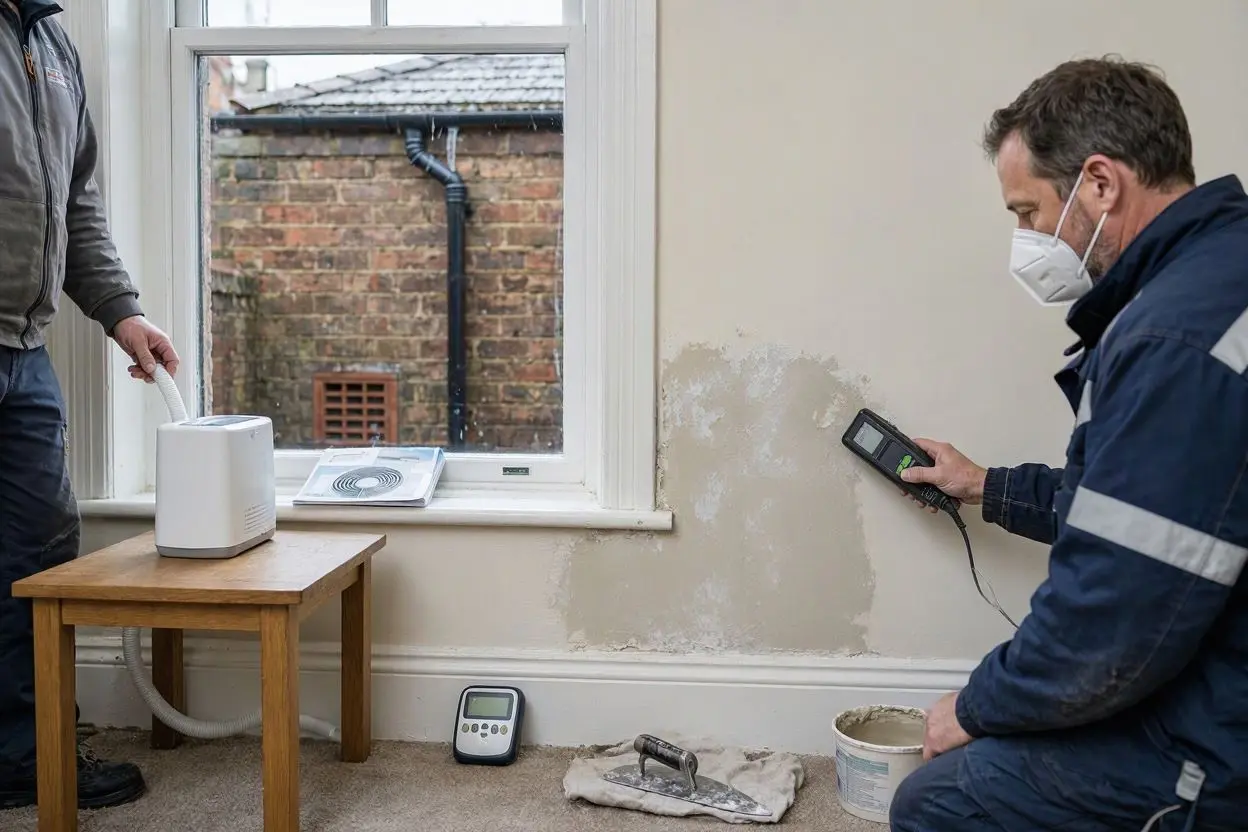
Handheld moisture meters are handy, but treat the numbers with caution in an old house. Salts in the plaster, metallic wallpaper and even foil-backed plasterboard can throw a false high reading. Lime plaster also naturally holds some moisture. Use a meter to compare spots on the same wall, not as a pass-or-fail verdict.
Step 2: Fix the Cause Outside First
Here’s the golden rule of damp: treat the source, not the symptom. Re-plastering a wall that’s still being rained on is just paying for the same job twice.
Walk around the outside of your house, ideally during or just after rain, and check:
- Gutters and downpipes. Are they blocked, cracked or overflowing? A leaking joint can drench one patch of wall for years.
- Roof. Look for slipped or broken tiles, failed flashing around chimneys and damaged valleys.
- Pointing and render. Cracks and crumbling mortar let water straight in. Hard cement repairs are often a culprit, so repair with lime.
- Ground level. If soil, a patio or a flower bed has crept higher than the internal floor, water can sit against the wall. Lower it or add a small drainage channel.
- Plants. Ivy and climbers can hold moisture against the wall and push into mortar joints.
- Windows and sills. Check seals, drip grooves and sill joints.
Plenty of “mystery damp” disappears once a gutter is fixed.
Step 3: Deal With Condensation Inside the House
If your damp is condensation, the fix is mostly about moisture and airflow rather than building work.
- Ventilate where moisture is made. Use a decent extractor fan in the bathroom and an extractor or cooker hood in the kitchen, and keep doors closed while cooking and showering.
- Dry clothes smartly. Drying washing on radiators is a big contributor. Use a vented tumble dryer or dry clothes outdoors when you can.
- Keep the house gently warm. Cold walls attract condensation. A steady low background heat works better than short bursts of high heat.
- Use a dehumidifier. A good one can pull litres of water from the air in a week, especially useful in winter.
- Leave a gap behind furniture. Wardrobes pushed flat against an external wall trap damp air.
- Clean mould properly. Wipe it off with a mould-killing cleaner, wear gloves, and don’t brush it dry, which spreads spores.
A word of caution: sealing up draughty old windows and adding insulation without improving ventilation can make condensation worse. If you upgrade the house, upgrade the airflow too.
Step 4: Let the Wall Dry Out
Once the source of water is fixed, the wall needs time to dry, and that takes patience. A thick solid wall can take months, sometimes a year or more.
During this period:
- Keep the room ventilated and gently heated
- Don’t paint over the area with waterproof or vinyl paint
- Leave the damaged area as exposed as practical if the plaster is failing
Rushing to cover the wall is the single most common mistake. Trapped moisture simply pushes the paint off again, or moves sideways and shows up somewhere new.
Step 5: Repair the Wall With Breathable Materials
When the wall is properly dry, repair the surface.
Remove contaminated plaster
Damp walls often carry salts that keep attracting moisture long after the water source has gone. Hack off damaged plaster, usually to about a metre above the highest visible mark, and let the bare masonry dry.
Choose the right plaster
For an old solid-walled house, lime plaster is generally the right choice. It’s flexible, vapour-permeable and works with the wall rather than against it. Cement-based or gypsum plasters do the opposite, locking moisture in and pushing it to the next weak point.
Finish with breathable paint
Use a mineral, limewash or clay-based paint rather than standard vinyl emulsion or “damp-proof” coatings. Breathable paint lets the wall keep releasing moisture instead of blistering.
What about damp proof membranes and injected DPCs?
You’ll often be pitched these. Chemical injection can be worth considering where a survey genuinely confirms rising damp and the wall is suitable, but in many older homes it’s unnecessary, and a membrane or tanking system can push moisture elsewhere in the building. Get at least two independent opinions before spending thousands.
Common Mistakes That Make Damp Worse
- Painting over damp with waterproof paint
- Fixing the wall before fixing the leak
- Using cement render or sand-and-cement patches on old brick
- Skipping a proper diagnosis
- Blocking airbricks and under-floor vents
- Laying a concrete or impermeable floor over a traditional one without advice
- Insulating with non-breathable materials
- Trusting a free survey that conveniently ends in a big quote
When to Call a Professional
DIY is fine for gutters, ventilation and surface mould. Call someone qualified when:
- The damp keeps returning after you’ve fixed the obvious causes
- Timber is soft, spongy or smells of rot
- The house is listed or in a conservation area
- You’re unsure what’s causing the problem
- The wall is structurally damaged or bowing
For listed buildings, always check with your local conservation officer before changing materials, because the rules on repairs are strict.
Look for an independent chartered surveyor, a building conservation specialist or a traditional-building contractor with lime experience.
Final Thoughts
Fixing damp in an old UK house isn’t about fighting the building. It’s about helping it breathe again. Find the real cause, deal with it at the source, give the wall time to dry, and then repair using materials that suit the age of your home.
It takes more patience than a tin of “miracle” paint, but it’s the approach that actually lasts, and it protects the character and value of your property along the way.
Frequently Asked Questions (FAQs)
How do I know if damp on my internal wall is rising damp or condensation?
Rising damp usually appears low on the wall, below about a metre, with tide marks and salt deposits. Condensation tends to show as black mould in cold corners and behind furniture, and it gets worse in winter. A patch that appears higher up and worsens after rain is more likely penetrating damp.
Can I just paint over damp walls?
You can, but it won’t solve anything. Standard or waterproof paint over a damp wall will blister and peel as moisture pushes through, and it can trap water in the masonry. Fix the cause, let the wall dry, then use breathable paint.
Does an old house always need a damp proof course?
No. Many pre-1920s homes were built without one and cope perfectly well when their walls can breathe. A damp proof course is only worth considering if a proper independent survey confirms genuine rising damp.
How long does a damp wall take to dry out?
It depends on the thickness of the wall and how wet it is. Solid brick or stone walls can take several months to a year after the source of water is fixed. Good ventilation and gentle heating speed things up.
What is the best plaster for damp internal walls in an old house?
Breathable lime plaster is generally the best option for solid-walled period properties. Gypsum and cement-based plasters trap moisture and often cause fresh problems nearby.
Is damp on walls dangerous to health?
Persistent damp and mould can irritate airways and may aggravate asthma, allergies and other respiratory conditions. If anyone in the household is affected, treat the problem promptly and speak to a doctor if symptoms continue.
Will a dehumidifier fix damp walls?
A dehumidifier helps with condensation and can speed up drying, but it won’t cure rising or penetrating damp on its own. You still need to fix the underlying cause.
How much does it cost to fix damp in an old house?
Costs range widely. Clearing a gutter or improving ventilation can cost almost nothing, while re-plastering with lime or major repairs can run into the thousands. Always get more than one independent quote and a written diagnosis.
Should I get a damp survey before starting work?
Yes. An independent survey from a chartered surveyor or building conservation specialist is the best way to avoid paying for treatment you don’t need.