
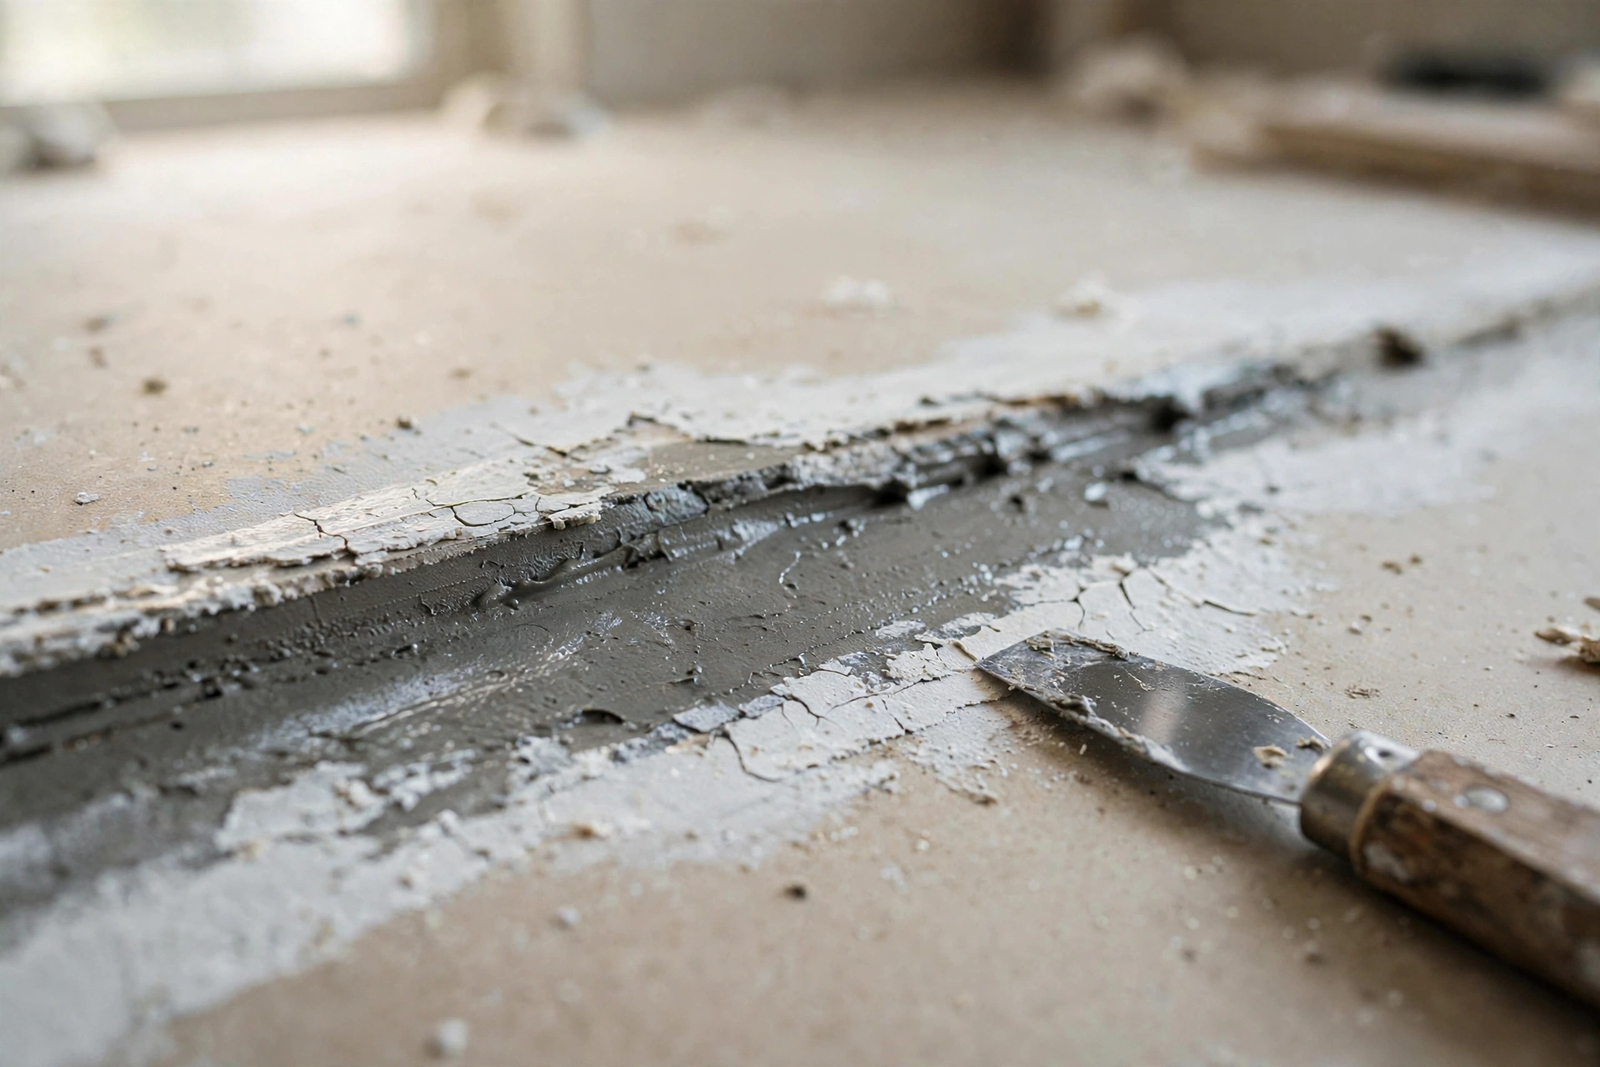
How Long does Joint Compound Take to Dry? Complete Answer
Ask five drywallers how long joint compound takes to dry and you will get five different answers — because the honest answer is “it depends.” I once watched a DIYer sand a seam the same evening he mudded it, smearing half-dried compound across the wall and doubling his work. The difference between a glass-smooth finish and a lumpy mess usually comes down to patience at exactly this step. Understanding what controls drying time lets you plan a multi-coat job properly instead of guessing.
The Baseline: 24 Hours Per Coat
For standard pre-mixed all-purpose joint compound — the big bucket most DIYers buy — plan on 24 hours of drying time per coat at roughly 18–22°C and 40–60% relative humidity. That is the figure every manufacturer prints on the bucket, and it assumes a normal coat thickness of 1–2 mm over taped seams.
But “normal” covers a wide range. Here is how the common situations break down:
- Thin skim coat (under 1 mm): 8–12 hours; often sandable the same evening if the room is warm and dry
- Standard seam coat (1–2 mm): 18–24 hours
- Second/fill coat (2–3 mm): 24 hours minimum
- Deep fill or patch (5 mm+): 36–48 hours, sometimes longer — thick compound dries from the outside in, so the surface can feel dry while the centre is still soft
- Corner beads and heavy build-up: 24–36 hours
The critical rule: each coat must be completely dry before the next goes on. Mudding over damp compound traps moisture, which leads to shrinkage cracks, bubbling under paint, and soft spots that telegraph through the finish. When in doubt, wait another few hours — compound is cheap, rework is not.
What Actually Controls Drying Time
Humidity matters more than temperature
Pre-mixed joint compound dries by evaporation: the water in the mud has to go somewhere, and that somewhere is the air. In a damp, unventilated room — a bathroom with no extractor fan, a basement in November — the air saturates and drying stalls. I have seen seams take three full days in a cold, humid garage that would have dried overnight in a heated living room. If you can control one variable, control humidity: run a dehumidifier, crack a window, or at minimum keep interior doors open for air circulation.
Temperature
Compound dries noticeably slower below about 13°C and the manufacturers generally specify a minimum application temperature of 10°C. Cold mud also spreads poorly. In winter, get the room up to a comfortable working temperature and keep it there through the drying period — letting the heating drop overnight extends drying time more than most people expect.
Coat thickness
Drying time increases roughly with the square of thickness, not linearly. A 4 mm fill does not take twice as long as a 2 mm coat — it takes closer to four times as long, because the dry outer skin slows moisture escaping from beneath. This is why pros build up deep fills in multiple thin coats rather than one thick one: three 1.5 mm coats, each dried properly, finish faster and flatter than a single 5 mm blob.
Airflow
Still air is the enemy. A gentle fan moving air across the wall (not blasting directly at it, which can crack the surface) can cut drying time by a third. Just avoid pointing a heat gun or fan heater at fresh mud — rapid surface drying causes shrinkage cracks and a brittle skin over soft compound.
Setting-Type Compound: The Fast Alternative
When 24 hours per coat is too slow — a same-day patch repair, a rental turnaround, a bathroom you need back by morning — setting-type compound (“hot mud”) is the answer. It comes as a powder you mix with water, and it hardens by chemical reaction rather than evaporation. The number on the bag is the working time: 20, 45, or 90 minutes.
- 20-minute: for small patches and first coats when you are experienced; sets fast enough to punish hesitation
- 45-minute: the sweet spot for most DIYers — enough working time, sandable or recoatable in about an hour
- 90-minute: for larger areas or beginners; still dramatically faster than pre-mixed
Two caveats. First, setting compound is harder to sand than pre-mixed all-purpose — it cures rock-hard, so apply it neatly and keep coats thin. Second, mix only what you can use within the working time; once it starts setting in the pan, it is done — adding water will not save it. Many pros use setting compound for the first (tape) coat and switch to lightweight pre-mixed for the final coats, getting the best of both: speed where it counts, easy sanding where it shows.
For the full repair workflow including when to prime, see how many coats of primer on new drywall“>how many coats of primer new drywall needs — the priming step has its own timing rules once the mud is dry.
How to Tell When It’s Truly Dry
Colour is your first indicator: wet joint compound is noticeably darker (greyish) and turns a uniform chalky white as it dries. But colour alone can lie on thick fills, where the surface whitens while the middle stays damp. Use these checks together:
- The touch test: it should feel room-temperature and powdery, not cool or clammy. Evaporating moisture cools the surface — if it feels cold, it is still drying.
- The thumbnail test: press your thumbnail firmly into an inconspicuous spot. Dry compound resists and powders slightly; damp compound dents.
- The sand test: dry compound sands to a fine, dry powder that falls away. If the sandpaper clogs or the surface gums and rolls, stop — it is not ready.
- Consistent colour edge to edge: any darker patches, especially along the centre of a seam, mean moisture is still working its way out.
Speeding Up Drying Safely
If you are up against a deadline, these methods help without wrecking the finish:
- Raise the room temperature to 21–24°C and hold it steady
- Run a dehumidifier — the single most effective accelerator in damp conditions
- Improve air circulation with a fan on low, aimed along the wall rather than at it
- Apply thinner coats — the tortoise approach that actually wins
- Use setting-type compound for early coats
What not to do: aim a heat gun or hair dryer at the mud (surface cracks), crank a space heater inches from the wall (same problem, plus fire risk), or sand early “just to check” (you will gouge soft compound and create more work). The guides at Family Handyman echo this in their drywall finishing tutorials — patience at this stage is what separates invisible seams from visible ones.
Drying Time and Your Project Schedule
A typical three-coat seam job (tape coat, fill coat, finish coat) needs three full drying cycles. At 24 hours each, that is three days of drying plus application time — plan four days wall-to-wall for a room of taping, and do not schedule the painter until the final coat has had its full day. Rushing this schedule is the most common cause of callbacks in drywall work: the painter arrives, everything looks fine, and a week later shrinkage cracks open under the fresh paint.
If your project involves fresh drywall throughout rather than repairs, priming new drywall correctly“>priming new drywall correctly after the final sand is the step that locks in all this patient work. And for timing the paint that follows the primer, our guide to how long does it take for stain to dry“>how long finishes take to dry covers the next stage of the schedule.
Frequently Asked Questions
Can I apply a second coat of joint compound after 12 hours?
Only if the first coat is genuinely dry — uniformly white, room-temperature to the touch, and powdery under the thumbnail test. In warm, dry conditions a thin first coat can be ready in 12 hours. In cool or humid conditions it will not be. When in doubt, wait the full 24.
Why is my joint compound cracking as it dries?
Shrinkage cracks come from coats applied too thick, drying too fast (heat or direct airflow on the surface), or mudding over a previous coat that was not fully dry. Fill the cracks with a thin fresh coat once everything is stable, and keep subsequent coats thinner.
Does lightweight joint compound dry faster than all-purpose?
Slightly — lightweight compound contains less water per volume and has a more open structure, so thin coats may be sandable a few hours sooner. The difference is modest though; still plan on roughly 24 hours for standard coats.
Can I paint over joint compound that feels dry but is only a few hours old?
No. “Feels dry” on the surface is not the same as cured through. Painting over damp compound traps moisture, causing bubbles, poor adhesion, and flashing that shows through the paint. Give it the full drying time, then prime before painting — primer over damp mud is just as problematic.
How long does joint compound last in the bucket once opened?
An opened bucket kept sealed with a thin layer of water on top (poured off before use) stays workable for 6–9 months. If it smells sour, has mould spots, or will not stir smooth, replace it — old compound dries inconsistently and bonds poorly.
Is it safe to sleep in a room with drying joint compound?
Yes — dried and drying joint compound is non-toxic, though the dust from sanding is an irritant, so wear a mask and ventilate while sanding. Keep the room ventilated during drying anyway, since airflow is what dries the mud.