
How to Bleed a Radiator Properly: A 10-Minute Job
It’s October, you’ve just turned the heating on, and one radiator is stubbornly cold at the top while the bottom roasts. Classic. The fix takes ten minutes, costs nothing, and makes your whole heating system work better. So how do I bleed a radiator properly? It’s one of the simplest DIY jobs there is — but doing it wrong can make a mess or even damage the system. Here’s the right way, step by step.
How do you know a radiator needs bleeding?
The tell-tale signs:
- Cold spots at the top of the radiator while the bottom is hot — trapped air rises, so it collects at the top
- Gurgling or bubbling noises when the heating comes on
- The radiator takes much longer to heat up than others
- The whole radiator is cold while others are hot (though this can also be a balancing or sludge issue — more below)
Air gets into the system naturally over time — through tiny leaks, during refills, or via corrosion producing hydrogen gas. It’s normal, which is why bleeding is routine annual maintenance, ideally done before the heating season starts in autumn.
How do I bleed a radiator properly? Step by step
You’ll need: A radiator bleed key (£1–£3 from any DIY shop — buy a couple, they vanish like socks) or a flat screwdriver for modern bleed valves, plus an old towel or cloth and a small container.
- Turn the heating ON first — wait, what? Yes: run the heating for 10–15 minutes so pressure builds and pushes air to the radiators. Then turn the whole system OFF and wait 10 minutes for everything to cool slightly and settle. (Bleeding with the pump running can draw more air in.)
- Start with the radiator furthest from the boiler (usually upstairs), working back towards it. This follows the natural flow of the system.
- Locate the bleed valve — a small square-headed screw at the top corner of the radiator (usually the opposite end from the thermostatic valve).
- Hold the cloth under the valve and fit the bleed key. Turn anticlockwise about a quarter to half turn — you’ll hear a hiss as air escapes. Don’t fully remove the valve — a quarter turn is plenty, and unscrewing it completely launches a jet of black water across the room. (Ask me how I know.)
- Wait for the hiss to become a dribble. When water starts coming out steadily (it’ll be discoloured — that’s normal sludge), close the valve by turning clockwise. Don’t overtighten — finger-tight plus a nip is enough.
- Move to the next radiator and repeat.
- Check the boiler pressure. Bleeding releases water as well as air, so system pressure drops. Look at the pressure gauge — it should read 1–1.5 bar when cold. If it’s below 1 bar, top up via the filling loop (two taps under the boiler — your manual shows how). This step is essential; skip it and the boiler may refuse to fire or cut out.
- Turn the heating back on and check all radiators heat evenly.
Common mistakes (learn from others’ pain)
- Bleeding with the heating on. The pump circulates and can suck air into the bleed valve. Always switch off first.
- Opening the valve too far. A quarter-turn hisses; a full turn removes the screw entirely. Water will go everywhere. The cloth is not optional.
- Forgetting to check pressure afterwards. The number one cause of “I bled my radiators and now the heating doesn’t work”. Top up to 1–1.5 bar.
- Bleeding radiators that don’t need it. If a radiator heats evenly top to bottom, leave it alone — you’re just introducing fresh oxygenated water that accelerates corrosion.
When bleeding doesn’t fix it
If you’ve bled properly and the radiator is still cold, the problem is something else:
- Cold at the bottom, hot at top? That’s sludge (magnetite — black iron oxide) settled at the bottom, blocking flow. Bleeding won’t fix it. You need a system flush — a boiler service is a good time to discuss it, or a standalone powerflush (£300–£500).
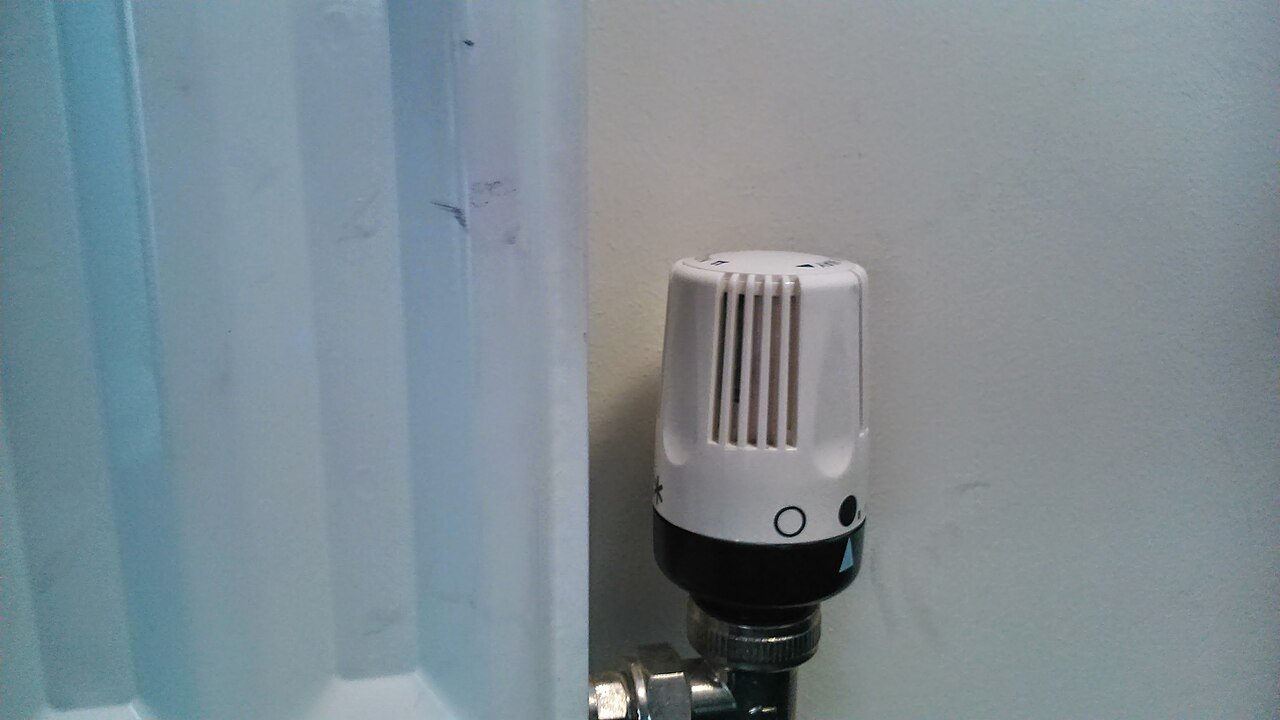
- One radiator cold, rest fine? Could be a stuck thermostatic radiator valve (TRV) pin — remove the TRV head and gently press the pin; if it’s stuck down, wiggle it free with pliers and a drop of WD-40. Or the lockshield valve is closed.
- Needing to bleed constantly? Air keeps getting in somewhere — likely a tiny leak, a failing automatic air vent, or corrosion generating hydrogen. If you’re bleeding monthly, get a heating engineer to investigate. It could indicate the system needs inhibitor topped up or there’s a leak drawing air in.
- Boiler pressure keeps dropping after topping up? There’s a leak somewhere in the system. Check visible pipework, radiator valves and the boiler’s pressure relief discharge pipe outside.
Should you balance your radiators too?
If some rooms are roasting while others are lukewarm, your system needs balancing — adjusting the lockshield valves so hot water distributes evenly. It’s a 30-minute job: turn all lockshields off, then open them gradually starting with the furthest radiator, aiming for a 10–12°C drop between flow and return pipes on each radiator (a £15 infrared thermometer makes this easy). Balanced radiators + bled radiators = a system running at peak efficiency, which feeds directly into keeping heating bills down.
How often should you bleed radiators?
Once a year, in early autumn before you switch the heating on properly — that’s the standard advice, and it’s right. Bleed them when you notice cold spots at the top, gurgling noises, or radiators that take ages to warm up. What you shouldn’t do is bleed them monthly as a ritual: if a radiator keeps getting airlocked, that’s a symptom of a system problem (corrosion, a leak drawing in air, or hydrogen build-up from sludge) that bleeding won’t fix. Regular air build-up means it’s time for a system check, not a bleed key workout.
The practical takeaway
Bleed your radiators once a year in early autumn: heating on then off, start furthest from the boiler, quarter-turn anticlockwise until water runs steady, close, and always check the boiler pressure afterwards (1–1.5 bar cold). It takes ten minutes, costs a £2 bleed key, and can noticeably improve heating performance and efficiency. For more ways to heat your home efficiently, the Energy Saving Trust has excellent free guidance.